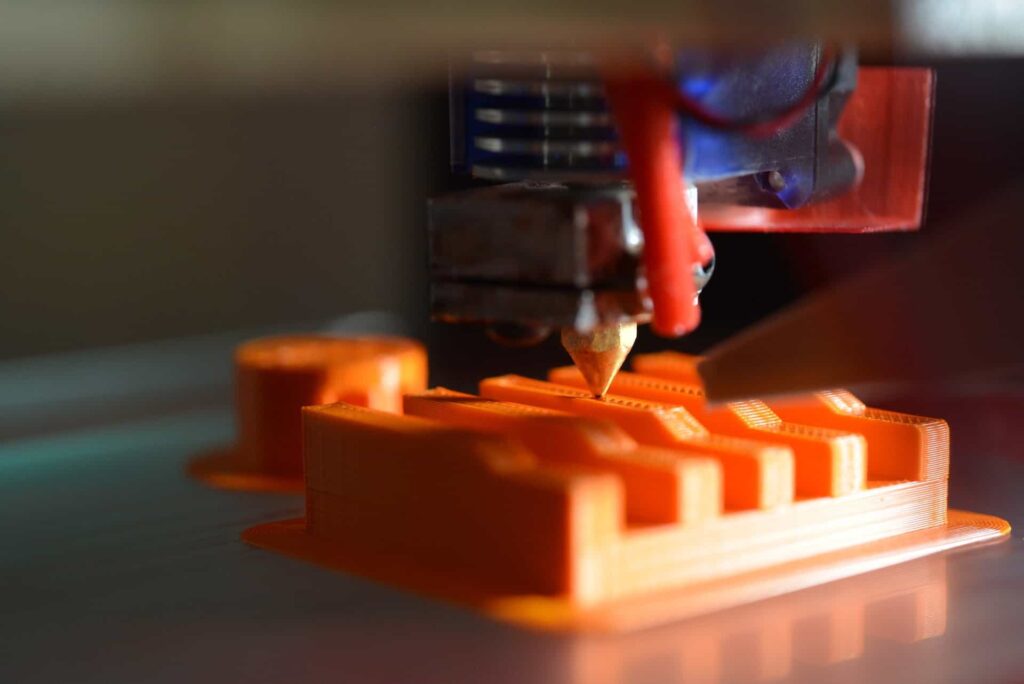
3D printing has revolutionized the way we create objects, allowing for incredible precision and customization.
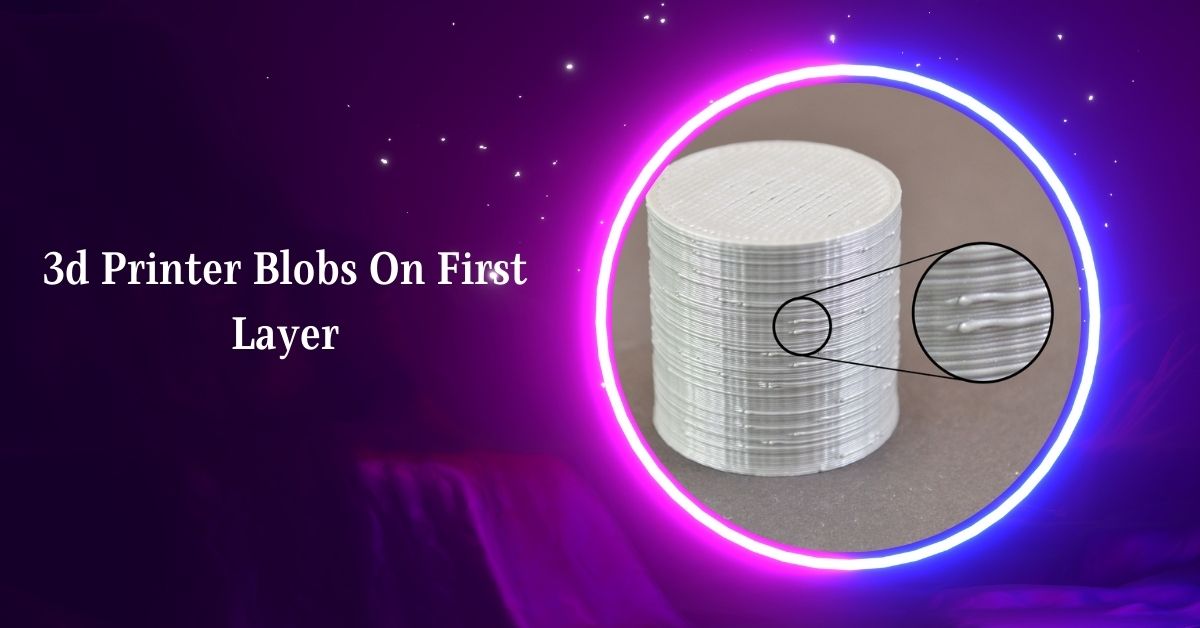
Blobs on the first layer often occur due to over-extrusion or the nozzle being too close to the bed. Ensure proper nozzle height and check extrusion settings to fix these issues and improve bed adhesion.
In this article, we delve into why blobs appear on the first layer of 3D prints and how to resolve them.
What causes 3D printing blobs and zits?
3D printing blobs and zits are common issues that can negatively affect the quality of your prints. Understanding the causes of these defects is the first step toward preventing them. Here are 10 common causes of 3D printing blobs and zits:
1. Over-Extrusion
Over-extrusion occurs when too much filament is extruded, leading to excess material that forms blobs on the print surface.
2. Retraction Settings
Incorrect retraction settings can cause the filament to retract too much or too little, leading to inconsistencies and blobs at the start or end of a print path.
3. Extruder Motion
Blobs can form when the print head returns to its starting position, causing material to accumulate at that point.
4. Nozzle Temperature
If the nozzle temperature is too high, the filament can become too liquid and ooze out uncontrollably, forming blobs.
5. Print Speed
Printing too quickly can prevent layers from cooling adequately, leading to deformations and blobs as new layers are added on top of still-soft filament.
6. Filament Quality
Low-quality filament can have inconsistent diameters or impurities that cause irregular extrusion and blobs.
7. Inadequate Cooling
Insufficient cooling of the filament can prevent it from solidifying quickly enough, resulting in blobs as subsequent layers are added.
8. Nozzle Condition
A worn or dirty nozzle can cause inconsistent extrusion, leading to blobs and other print defects.
9. Slicer Software Settings
Incorrect settings in your slicer software, such as incorrect flow rate or layer height, can contribute to over-extrusion and blobs.
10. Printer Calibration
Poorly calibrated printers can have issues with movement accuracy and extrusion consistency, resulting in blobs and zits on the print surface.
By addressing these common causes, you can significantly reduce the occurrence of blobs and zits in your 3D prints, leading to smoother and more accurate final products.
What can you do to prevent 3D printing blobs?
1. Adjust Retraction Settings
Retraction settings are essential to prevent 3D printing blobs and zits. Retraction pulls the filament back into the nozzle when the print head moves to a new location, stopping the filament from oozing out and causing blobs.
To adjust retraction settings, start with the retraction distance. A smaller distance, usually between 0.5 mm and 2 mm for direct drive extruders and up to 15 mm for Bowden extruders, is a good start. Too much retraction can pull in air, causing extrusion problems. Too little can lead to over-extrusion.
Next, adjust the retraction speed. A common range is 20 mm/second to 100 mm/second. Faster speeds help prevent oozing, but finding the right balance is key.
Experiment with these settings to find the sweet spot for your printer and filament. Proper retraction settings can greatly improve print quality by reducing blobs and zits.
2. Activate Coasting Settings
Coasting settings help prevent blobs and zits in 3D printing by stopping the filament from extruding just before the print head finishes a layer. This reduces pressure in the nozzle, preventing excess filament from oozing out and forming blobs.
To activate coasting, go to your slicer software and find the coasting settings, usually located under retraction settings. Start with a small coasting distance, like 0.2 mm. This means the printer will stop extruding filament 0.2 mm before completing the layer perimeter.
Gradually increase the coasting distance if blobs are still forming. The right setting will vary depending on your printer and filament, so some trial and error may be needed.
By using coasting, you can achieve cleaner prints with fewer surface imperfections. It’s a simple but effective way to improve print quality and avoid the frustration of blobs and zits.
3. Wiping and Shell Settings
Wiping and shell settings in your slicer software can help prevent blobs and zits in 3D printing. Wiping involves dragging the nozzle along the outer wall of the print at the end of each layer, removing excess filament and reducing blobs.
To use wiping, activate it in your slicer settings. Set a typical wipe distance of 0.4 to 0.5 mm. This distance is enough to clean the nozzle without affecting the print.
Shell settings also play a role. Adjust your slicer to print the outer wall before the inner structures. This order helps improve the appearance of the outer layer and reduces blobs.
These settings ensure a smoother finish and more accurate dimensions for your prints. By using wiping and optimizing shell settings, you can achieve higher quality and more visually appealing 3D prints.
4. Adjust Print Temperature and Speed
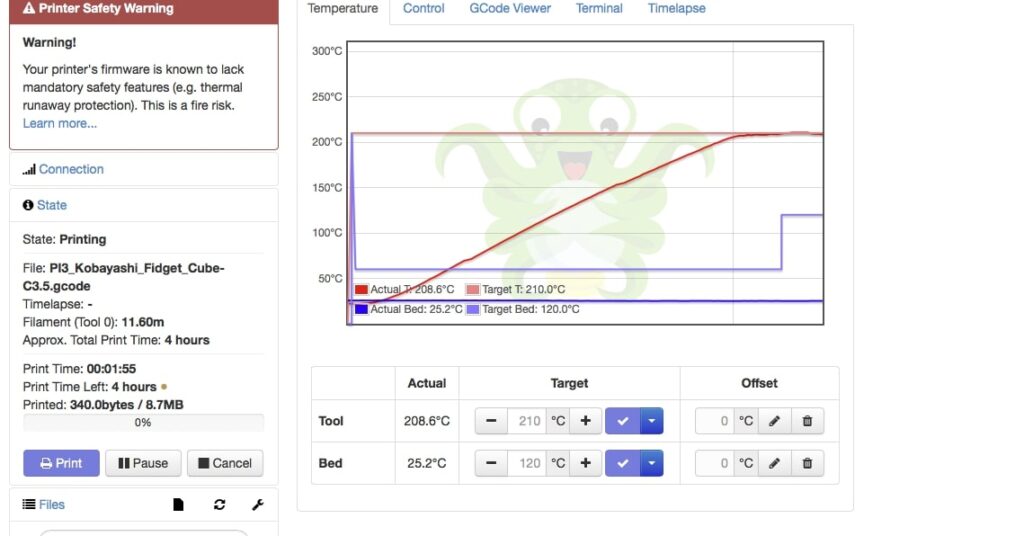
Properly adjusting print temperature and speed is crucial for preventing blobs and zits in 3D printing. If the nozzle temperature is too high, the filament can ooze out too quickly, forming blobs. To fix this, lower the temperature in small steps, like 5°C, until you find the right setting. For PLA filament, a common range is 200-210°C.
Print speed impacts the quality of your prints. If you print too fast, the layers may not cool properly, leading to blobs and other defects. Try reducing the print speed by 5-10 mm/s to see if it helps. A slower speed allows the filament to be deposited more accurately and gives each layer enough time to solidify before the next one is added.
By carefully adjusting both temperature and speed, you can achieve smoother prints with fewer imperfections, ensuring a higher quality 3D printing experience.
5. Adjust Fan Settings
Adjusting fan settings is essential to prevent blobs and zits in 3D printing. A fan helps cool the filament quickly, solidifying each layer properly and reducing the chance of blobs.
To optimize fan settings, increase the fan speed to ensure better cooling. Start with a moderate speed and gradually increase it if blobs still appear. For most prints, a fan speed between 50% and 100% works well.
However, avoid overcooling. If the fan speed is too high, it might affect layer adhesion, especially with certain filaments like ABS that require higher temperatures. Balance is key.
If your printer doesn’t have a built-in fan, consider adding one to improve print quality. Proper cooling helps prevent over-extrusion and keeps each layer smooth and clean.
By adjusting fan settings, you can achieve more precise and higher-quality 3D prints, reducing blobs and zits significantly.
3D printer dragging first layer
When a 3D printer drags the first layer, it usually means the print head is too low or the bed is not leveled properly. Adjust the bed leveling and nozzle height to fix this issue.
Blobs on 3D print Cura
Blobs in Cura can be reduced by adjusting retraction and coasting settings. Increase retraction distance and speed, and activate coasting to stop extrusion just before the end of a layer.
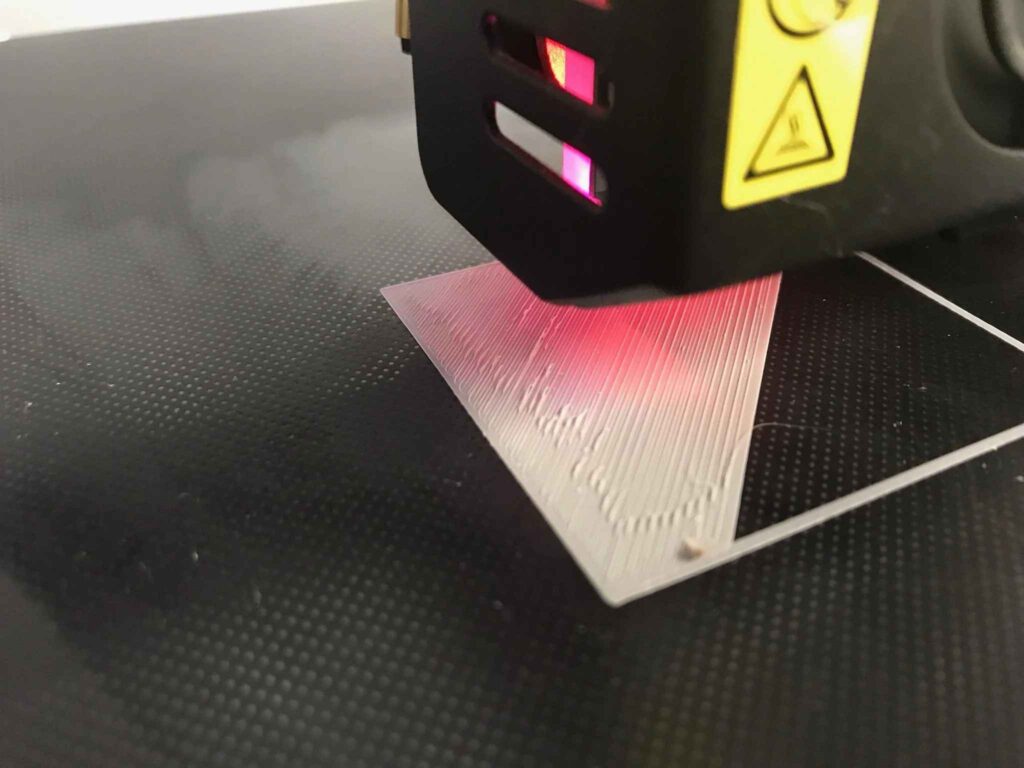
3D printing first layer thickness
First layer thickness is crucial for good adhesion. Typically, it should be 100-150% of the normal layer height to ensure the print sticks well to the bed. Adjust this setting in your slicer software.
PETG first layer blobs
Blobs on PETG’s first layer can be due to high nozzle temperature or over-extrusion. Lower the temperature slightly and adjust retraction settings to minimize blobs.
3D printer first layer settings
First layer settings are vital for print adhesion. Increase the first layer height and width in your slicer software, and ensure the bed is properly leveled for a strong first layer.
3D printer only prints first layer
If your 3D printer only prints the first layer, check for issues with the G-code, extrusion settings, or a clogged nozzle. Ensure the print file is correctly sliced and the nozzle is not blocked.
3D print blob at start
A blob at the start of a 3D print can be caused by over-extrusion or improper retraction. Adjust retraction settings and check for a smooth start to reduce initial blobs.
Blobbing on the first layers.
Blobbing on the first layers is often due to high nozzle temperature or over-extrusion. Lower the temperature and adjust retraction settings to reduce blobs and improve print quality.
Why am I getting these blips and blobs on first layer
Blips and blobs on the first layer can be caused by incorrect nozzle height, high temperature, or over-extrusion. Check the bed leveling, adjust the temperature, and fine-tune retraction settings to resolve these issues.
“Blobs” at beginning and end of layer and no adhesion
Blobs at the beginning and end of a layer often result from over-extrusion or improper retraction. Adjust retraction settings and ensure proper bed adhesion to improve the print’s quality and adhesion.
Printing making blobs on first layer
Blobs on the first layer can occur due to high nozzle temperature or excessive filament flow. Lower the temperature slightly and adjust retraction settings to minimize these blobs and enhance the print’s first layer.
First layer blob problems with PLA
Blobs with PLA on the first layer usually happen due to high nozzle temperature or over-extrusion. Reduce the nozzle temperature and tweak retraction settings to avoid blobs and improve first-layer adhesion.
FAQs
1. Why do blobs form on the first layer?
Blobs on the first layer are often caused by over-extrusion and improper retraction settings, leading to filament buildup at specific points.
2. How can I adjust retraction settings to reduce blobs?
Start with a smaller retraction distance and adjust the retraction speed to prevent filament oozing and ensure consistent extrusion.
3. What is coasting, and how does it help prevent blobs?
Coasting stops filament extrusion just before completing a layer, relieving pressure inside the nozzle and reducing material buildup at start/end points.
4. How do print temperature and speed affect blobs?
A too-hot nozzle and high print speed can cause over-extrusion and insufficient cooling, leading to blobs. Lowering temperature and speed can help.
5. Can fan settings impact blob formation?
Yes, increasing fan speed helps solidify filament layers quickly, preventing over-extrusion and squished layers that cause blobs.
Conclusion
By addressing nozzle height, temperature, retraction, and cooling settings, you can significantly reduce blobs on the first layer of your 3D prints. Proper adjustments lead to smoother, higher-quality prints.