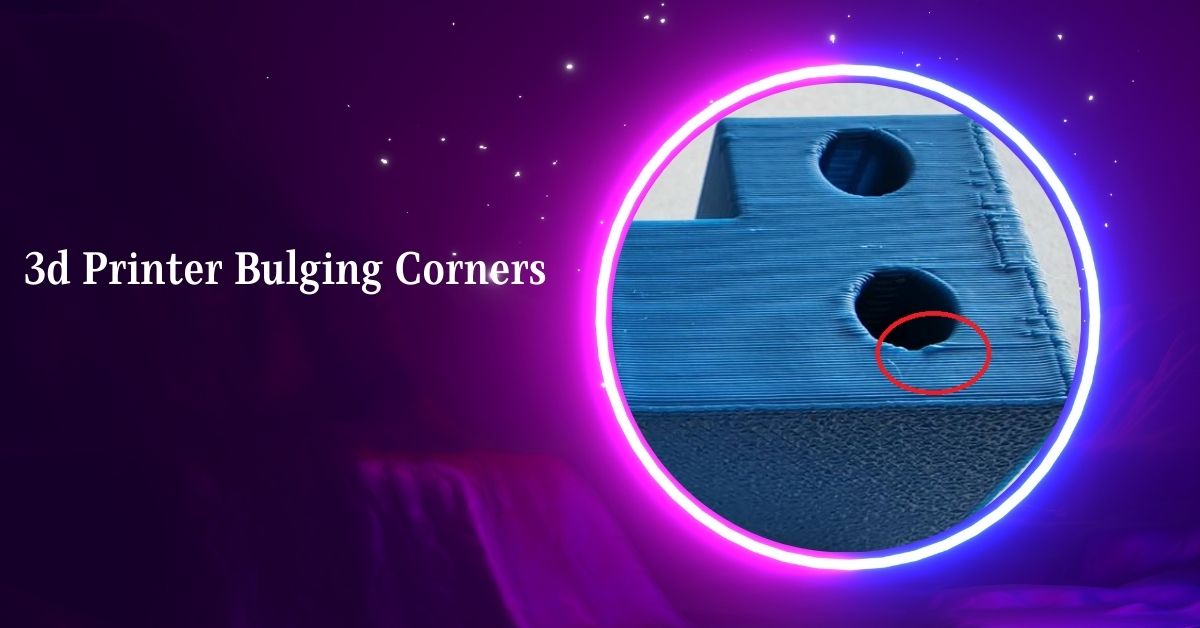
Bulging corners in 3D prints is a common issue that can affect printed objects’ overall quality and precision.
Bulging corners in 3D printers are often caused by over-extrusion, where excess filament builds up at the corners. To prevent this, adjust print speed, optimize nozzle temperature, and fine-tune extrusion settings.
Here’s a comprehensive look into the causes of bulging corners and how to address them effectively.
Understanding 3D Printing Warping
1. Definition and Impact on Prints:
Warping occurs when a print deforms or bends during or after printing. This deformation can affect the accuracy and functionality of the printed object, leading to issues like bulging corners.
2. Common Materials Affected:
Different materials have varying tendencies to warp. For instance, ABS is more prone to warping than PLA. Understanding material properties helps you choose the right one for your print.
Causes of Bulging Corners
1. Nozzle Pressure:
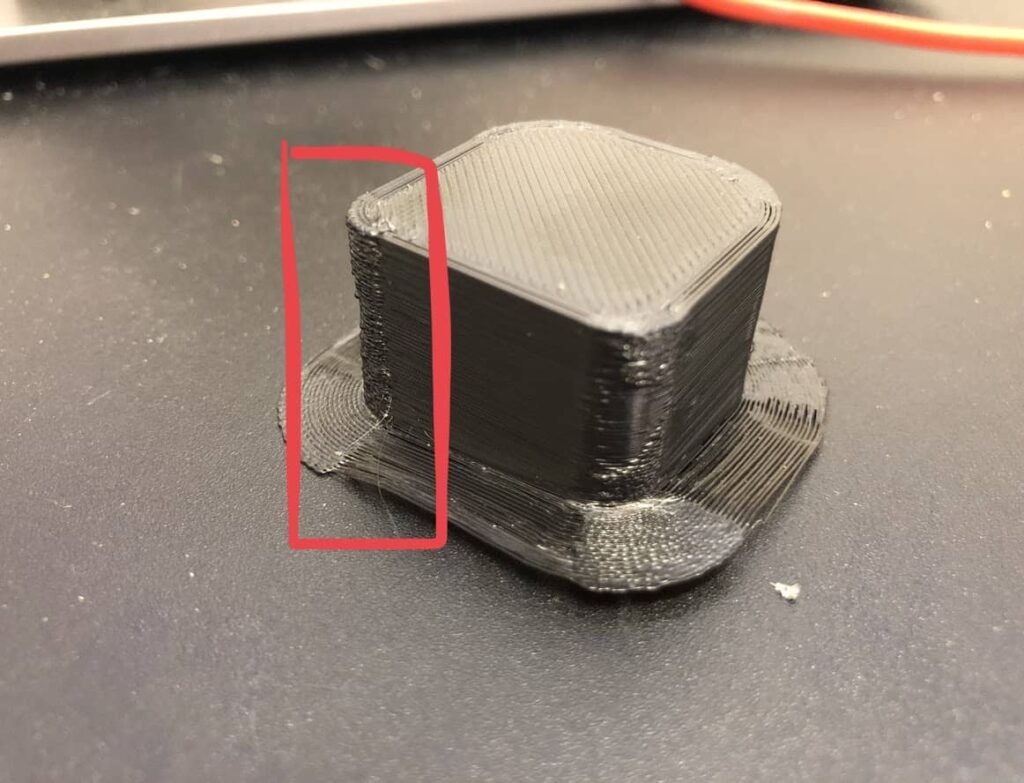
The primary cause of bulging corners is the fluctuation in nozzle pressure. When the printhead slows down to navigate a corner, the extrusion rate decreases, leading to excess filament being deposited at the corners due to the sudden release of built-up pressure.
2. Print Speed and Acceleration:
High print speeds and rapid acceleration changes can exacerbate pressure fluctuations, causing the nozzle to deposit more material than needed at corners. This over-extrusion leads to visible bulges.
3. Extruder Calibration:
An improperly calibrated extruder can contribute to inconsistent filament flow, resulting in excess material during turns and corners. Ensuring the extruder steps/mm are correctly calibrated can mitigate this issue.
4. Nozzle Height (Z-Offset):
Incorrect nozzle height can cause the filament to be squished excessively, especially on the first layer, leading to bulging. Adjusting the Z-offset to ensure the nozzle is at the optimal height can help resolve this.
5. Temperature Settings:
Printing at too high a temperature can make the filament too fluid, leading to over-extrusion at slower speeds or during deceleration, commonly seen at corners. Adjusting the print temperature to suit the filament type can reduce bulging.
6. Jerk and Acceleration Settings:
Low jerk and acceleration settings cause the printhead to decelerate too much before turning a corner, increasing material deposition. Proper tuning of these settings can maintain a smoother extrusion rate around corners.
Solutions to Fix Bulging Corners
1. Enable Linear Advance:
Linear Advance is a feature in some 3D printer firmware that compensates for pressure buildup in the nozzle by adjusting the extrusion rate dynamically. This helps maintain consistent filament flow, especially around corners.
2. Reduce Print Speed:
Slowing down the print speed can reduce the pressure fluctuations in the nozzle, leading to more consistent extrusion and minimizing bulging at corners. However, this may increase overall print time.
3. Adjust Nozzle Height (Z-Offset):
Ensuring the nozzle is at the correct height from the print bed can prevent the filament from being overly compressed, reducing the likelihood of bulging. Fine-tuning the Z-offset is crucial for achieving a smooth first layer and print quality.
4. Optimize Temperature Settings:
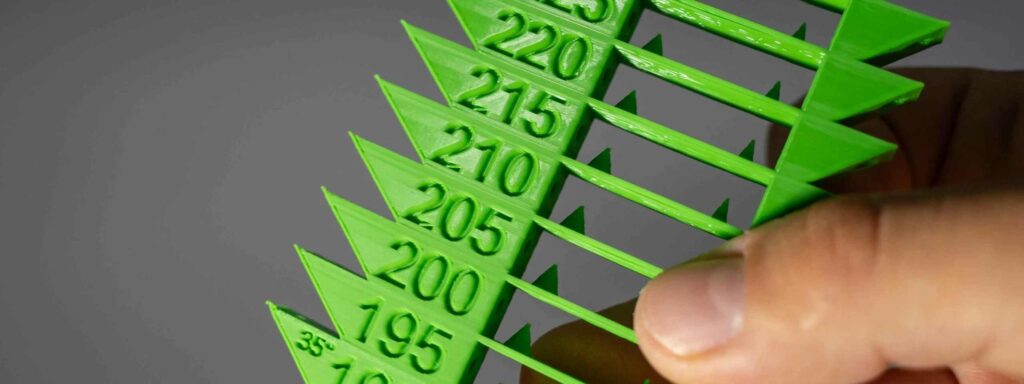
Lowering the print temperature can make the filament less fluid, reducing over-extrusion. It’s essential to adjust the temperature gradually to find the optimal setting that prevents bulging without compromising layer adhesion.
5. Calibrate Extruder Steps/mm:
Properly calibrating the extruder ensures accurate filament flow. Using digital callipers to measure and adjust the extruder steps/mm can significantly improve print quality and reduce issues like bulging corners.
6. Increase Jerk and Acceleration:
Increasing the jerk and acceleration settings can help the printhead maintain a constant speed around corners, reducing the pressure buildup and subsequent over-extrusion.
7. Improve Cooling:
Enhancing the cooling system, especially with more effective fans or additional cooling measures, can help the filament solidify faster, preventing it from spreading and bulging at corners.
8. Adjust Flow Rate:
Slightly reducing the flow rate can help control the amount of extruded filament, preventing excess material deposition at corners. However, this should be done carefully to avoid under-extrusion.
Advanced Techniques for Handling Bulging Corners
1. Utilizing Firmware Features
Modern 3D printers often have advanced firmware features that can be leveraged to address bulging corners. Features like linear advance, Pressure Advance, and Dynamic Acceleration Adjustment can automatically manage extrusion rates and pressure, ensuring smoother transitions at corners.
2. Fine-Tuning Slicer Settings
Slicer settings play a critical role in print quality. Adjusting parameters such as corner speed, outer wall speed, and retraction settings in the slicer software can help mitigate bulging issues. Adaptive layer heights and varying infill densities can contribute to more consistent prints.
3. Experimenting with Different Filaments
Different filament materials have varying properties that can influence the occurrence of bulging corners. For example, PLA is generally easier to print and less prone to bulging than materials like ABS or PETG. Experimenting with different filaments and understanding their specific characteristics can help achieve better results.
Choosing the Right Filament
- Comparing Warping Properties of Different Filaments: Different filaments have different thermal properties. For example, the PLA generally has lower warping issues than the ABS. Knowing these properties can help you select a filament that reduces warping.
- Recommendations for Low-Warp Materials: Materials like PLA, PETG, and some flexible filaments are less prone to warping. These are often recommended for prints where warping is a concern.
Advanced Bed Adhesion Techniques
- Using Adhesive Solutions and Surfaces: Adhesives like glue sticks or speciality print bed surfaces can improve adhesion. Techniques like applying a thin layer of glue or painter’s tape can help prevent corners from lifting.
- Benefits of Specialized Print Surfaces: Print surfaces such as build plates with textured surfaces or heated glass can enhance adhesion and reduce warping.
Enhancing Cooling Strategies
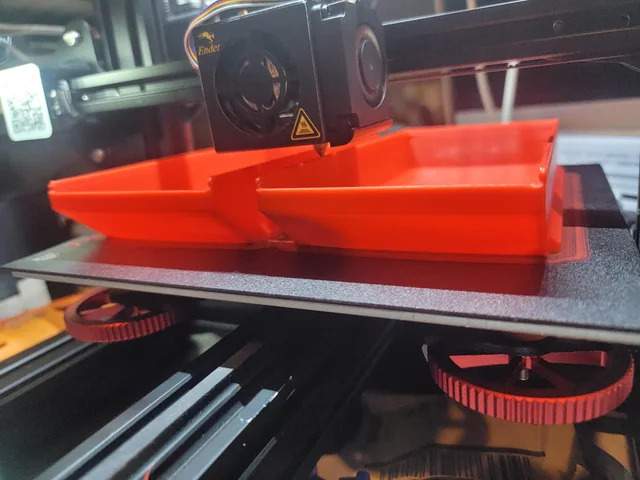
- Optimal Cooling Fan Settings: Adjusting cooling fan speeds can help manage how quickly the print cools. A well-calibrated fan can prevent uneven cooling that contributes to warping.
- Using Cooling Fans Effectively: Proper placement and cooling fans can ensure even cooling across the print, reducing the likelihood of bulging corners.
Print Environment Control
- Creating a Stable Printing Environment: A stable environment free from drafts and temperature fluctuations is crucial. Enclosures can help maintain a consistent temperature around the print.
- Utilizing Enclosures and Heated Chambers: Enclosures help control the ambient temperature, reducing warping. Heated chambers maintain a consistent temperature during the print process.
Case Studies and User Experiences
1. User Testimonials
Many users have shared their experiences and solutions for bulging corners on forums and community websites. Standard advice includes:
- The importance of regular calibration.
- Experimenting with different settings.
- The value of patience and persistence in fine-tuning printer parameters.
2. Practical Examples
Real-world examples highlight the effectiveness of various solutions. For instance, users have successfully eliminated bulging corners by enabling Linear Advance and adjusting their print speeds and temperatures. These practical insights can be invaluable for novice and experienced 3D printing enthusiasts.
FAQs
1. How to stop bulging corners on 3D print?
To stop bulging corners, adjust the print speed, lower the temperature, improve cooling, and ensure proper bed adhesion. These steps help maintain the shape and quality of your 3D print.
2. Why is my 3D print blobbing on the corner?
Blobbing on corners can be caused by too much filament extrusion. Try reducing the flow rate, adjusting retraction settings, and lowering the print speed to prevent excess material buildup.
3. Why do the corners of my 3D print curl up?
Corners curling up, known as warping, occurs due to uneven cooling. To reduce temperature fluctuations, use a heated bed, ensure good bed adhesion, and maintain an enclosed print environment.
4. What are the bumps on the corners of 3D print?
Bumps on corners, often called “zits” or “blobs,” are caused by excessive filament or improper retraction settings. Adjusting retraction distance and speed can help smooth out the print.
5. Why does my 3D print have weird bumps?
Weird bumps on a 3D print can result from incorrect temperature, poor retraction settings, or filament issues. Ensuring proper calibration and high-quality filament can minimize these defects.
Conclusion
Dealing with bulging corners in 3D prints requires careful attention to various factors, including print speed, nozzle temperature, and extruder calibration. Optimizing these settings and maintaining a stable print environment can significantly improve print quality and reduce issues.
