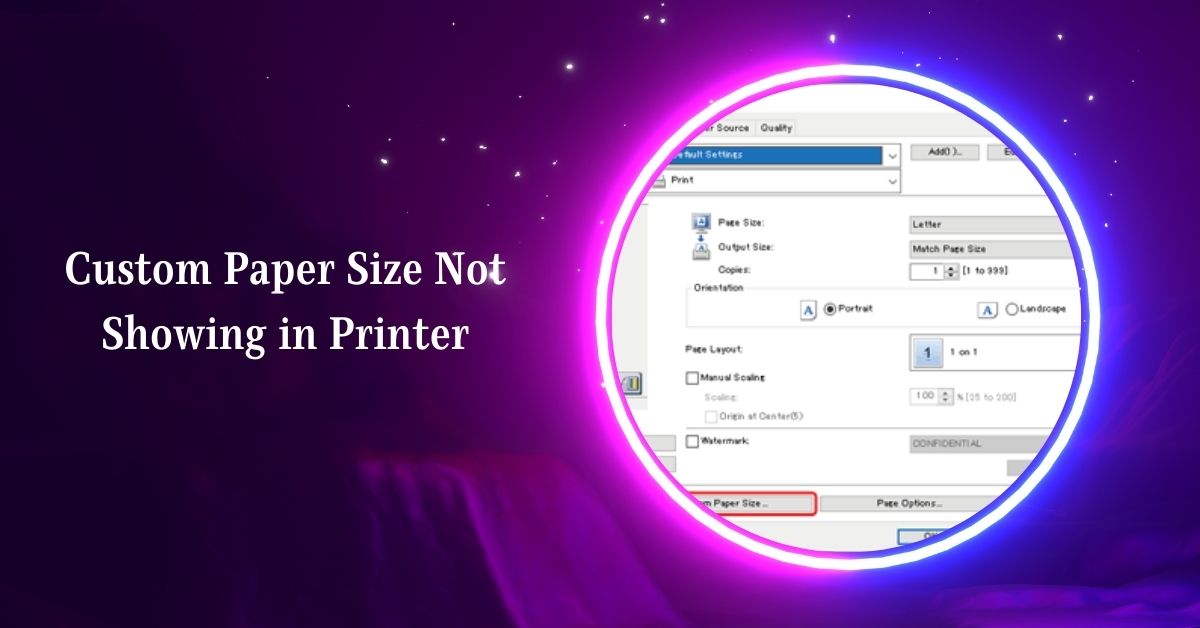
Printers are indispensable tools in our daily lives, whether for work, school, or personal projects. One common issue users encounter is the custom paper size option not appearing in the printer settings.
The custom paper size option might not show due to outdated printer drivers, software settings, or printer compatibility issues. Updating drivers, configuring settings, and ensuring printer support for custom sizes often resolves this problem.
In this comprehensive guide, we will explore the possible reasons for this issue and provide step-by-step solutions to help you resolve it.
Understanding the Issue
Before diving into the troubleshooting steps, it’s important to understand why the custom paper size option might not be showing up in your printer settings. Several factors can contribute to this problem, including:
- Printer Driver Issues: Outdated or incorrect printer drivers can prevent custom paper sizes from being recognized.
- Operating System Limitations: Some operating systems may have restrictions or require specific configurations to enable custom paper sizes.
- Application Settings: The software you are using to print may have its own settings that override printer preferences.
- Firmware and Software Updates: In some cases, printer firmware or software updates may introduce or resolve this issue.
- Hardware Limitations: Certain printers may not support custom paper sizes due to their hardware design.
Step-by-Step Troubleshooting
1. Check Printer Compatibility
First, verify that your printer model supports custom paper sizes. Refer to the printer’s user manual or visit the manufacturer’s website for specifications. If your printer does not support custom sizes, you may need to consider alternative printing solutions.
2. Update Printer Drivers
Outdated or corrupted printer drivers can cause various issues, including the absence of custom paper size options. To update your printer drivers:
- Windows:
- Open Device Manager.
- Find your printer under the “Printers” section.
- Right-click on your printer and select Update driver.
- Choose to search automatically for updated driver software.
- Mac:
- Open System Preferences.
- Go to Printers & Scanners.
- Select your printer and click Options & Supplies.
- Check for any available updates.
You can also visit the printer manufacturer’s website to download and install the latest drivers.
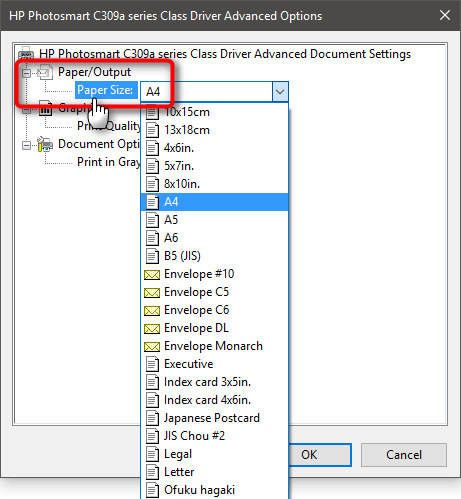
3. Configure Custom Paper Size in Printer Properties
Once your drivers are updated, you can configure the custom paper size:
- Windows:
- Open Control Panel and go to Devices and Printers.
- Right-click on your printer and select Printer properties.
- Navigate to the Advanced tab and click on Printing Defaults.
- In the printing preferences window, look for an option to add or manage custom paper sizes.
- Mac:
- Open System Preferences and go to Printers & Scanners.
- Select your printer and click Options & Supplies.
- Go to the Driver tab and look for custom paper size options.
4. Set Custom Paper Size in the Application
The software you are using to print might have its own settings for paper size. Ensure that you set the custom paper size within the application itself:
- Microsoft Word:
- Go to Layout > Size > More Paper Sizes.
- Enter the dimensions for your custom paper size and save it.
- Adobe Acrobat:
- Open the document and go to File > Print.
- Select Page Setup and enter the custom dimensions.
5. Check for Firmware Updates
Printer manufacturers occasionally release firmware updates that can resolve various issues, including those related to custom paper sizes. Visit the manufacturer’s website to check for any available firmware updates for your printer model.
6. Use Print to PDF as a Workaround
If you are still unable to set a custom paper size directly, consider printing to PDF with the custom dimensions and then printing the PDF file. This method can sometimes bypass the limitations of printer drivers or software settings.
- Windows:
- Go to File > Print.
- Select Microsoft Print to PDF as the printer.
- Set the custom paper size and save the PDF.
- Mac:
- Go to File > Print.
- Select PDF at the bottom left corner and choose Save as PDF.
- Set the custom paper size and save the PDF.
7. Reset Printer Settings
If none of the above solutions work, you can try resetting your printer settings to factory defaults. This process varies by printer model, so consult your printer’s user manual for specific instructions.
8. Contact Manufacturer Support
If you have exhausted all troubleshooting steps and the custom paper size option is still not showing, it may be time to contact the printer manufacturer’s customer support. They can provide specific guidance or escalate the issue if necessary.
FAQs
1. Why is the custom paper size option not showing on my printer?
Outdated printer drivers, software settings, or printer compatibility issues can prevent the custom paper size option from appearing. Updating drivers and checking printer specifications often resolves the problem.
2. How do I update my printer drivers?
Visit the printer manufacturer’s website or use your operating system’s device manager to find and install the latest drivers for your printer model.
3. Can my printer handle custom paper sizes?
Check your printer’s user manual or the manufacturer’s website to confirm if your printer model supports custom paper sizes. Some printers have hardware limitations that restrict custom sizes.
4. How do I set a custom paper size in Windows?
Go to Control Panel > Devices and Printers, right-click your printer, select Printer Properties, and navigate to the Advanced tab to set custom paper sizes in Printing Defaults.
5. How do I set a custom paper size on a Mac?
Open System Preferences > Printers & Scanners, select your printer, click Options & Supplies, and check the Driver tab for custom paper size options.
6. What if my application overrides printer settings?
Ensure custom paper size is set within the application’s print settings. For example, in Microsoft Word, go to Layout > Size > More Paper Sizes.
7. How can I update my printer firmware?
Visit the printer manufacturer’s website to check for available firmware updates for your printer model and follow the instructions to install them.
8. Can I use a PDF workaround for custom paper sizes?
Yes, print your document to a PDF with the custom dimensions, then print the PDF file. This can bypass driver or software limitations.
9. How do I reset my printer to factory settings?
Refer to your printer’s user manual for specific instructions on resetting to factory defaults, as this process varies by model.
10. When should I contact manufacturer support?
If you’ve tried all troubleshooting steps and the custom paper size option still doesn’t appear, contact the printer manufacturer’s customer support for further assistance.
Conclusion
Printing on custom paper sizes is a valuable feature for many users, and encountering issues with this functionality can be frustrating. By following the troubleshooting steps outlined in this guide, you should be able to resolve the problem and successfully configure your printer to handle custom paper sizes. Remember to keep your printer drivers and firmware updated, and don’t hesitate to reach out to manufacturer support if you need further assistance. With a little patience and persistence, you can overcome this common printing challenge and enjoy the full capabilities of your printer.